Getting Started with Cloudmersive and Zapier
Note: Zapier support is currently in Beta.Step 1 - Add the Cloudmersive App to your Account
Add Cloudmersive to ZapierNow you can use the Cloudmersive App in any zap that you want.
Step 2 - Create a Zap using the Cloudmersive App
Create a new Zap that starts with a trigger, and then connects to the Cloudmersive App, such as:
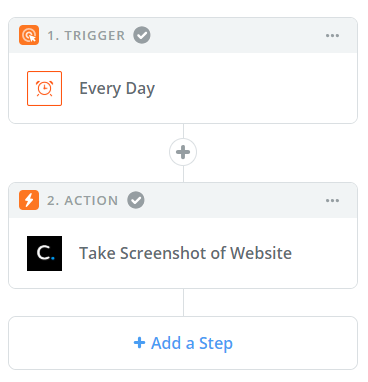
In this flow, first a Scheduler runs once a day, and then in the second step we use the Cloudmersive App to take a screenshot.
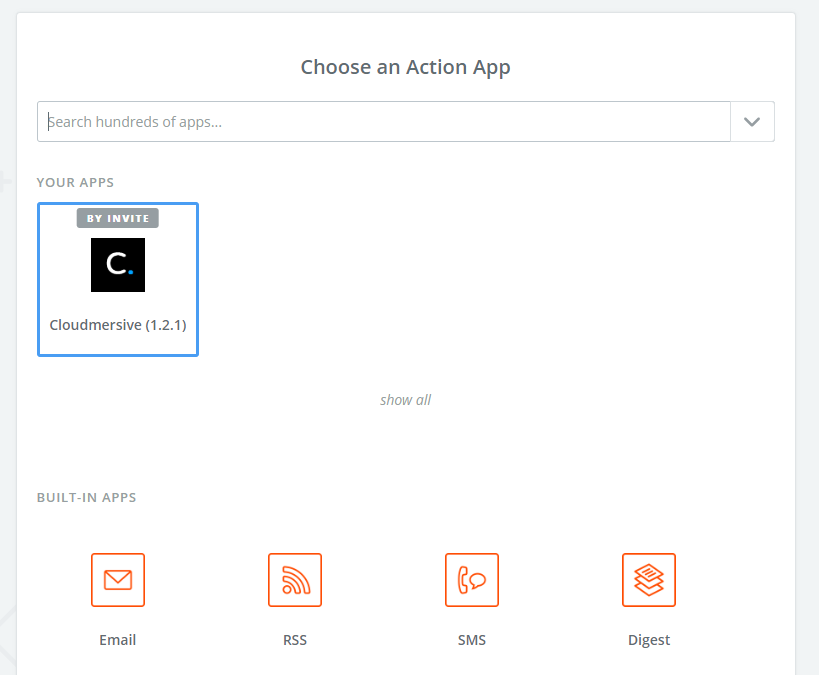
To choose the Cloudmersive App, simply search for it in the list of possible Apps when you add a new step:
Next you will want to choose which Action to perform:
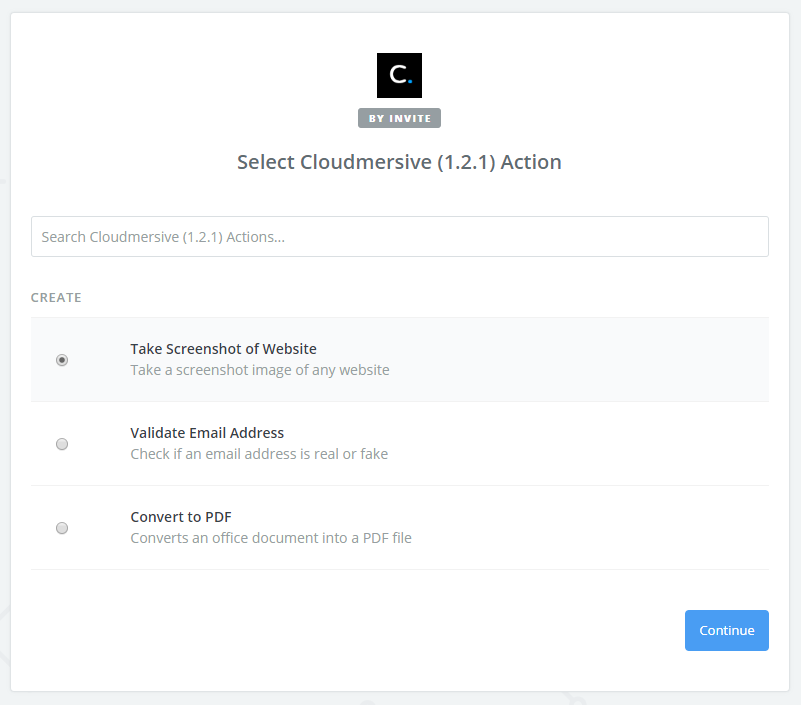
You can convert a file to PDF, take a screenshot of a website, or validate an email address.
Next you will connect your Cloudmersive account via a simple Allow flow (OAuthV2):
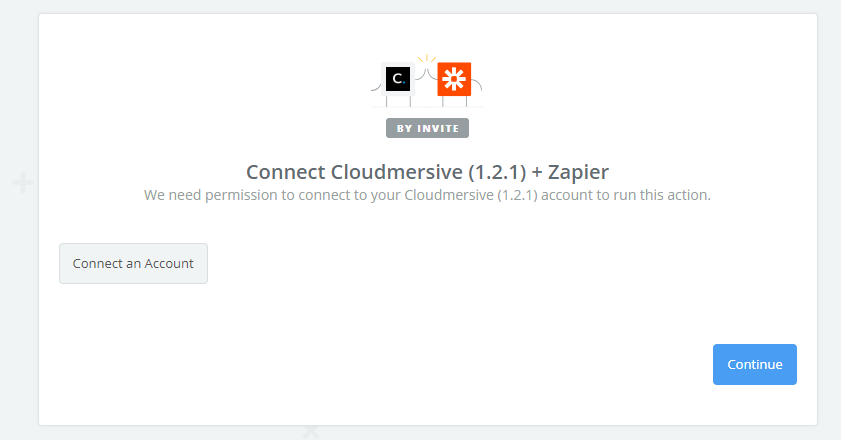
Then, simply click Allow.
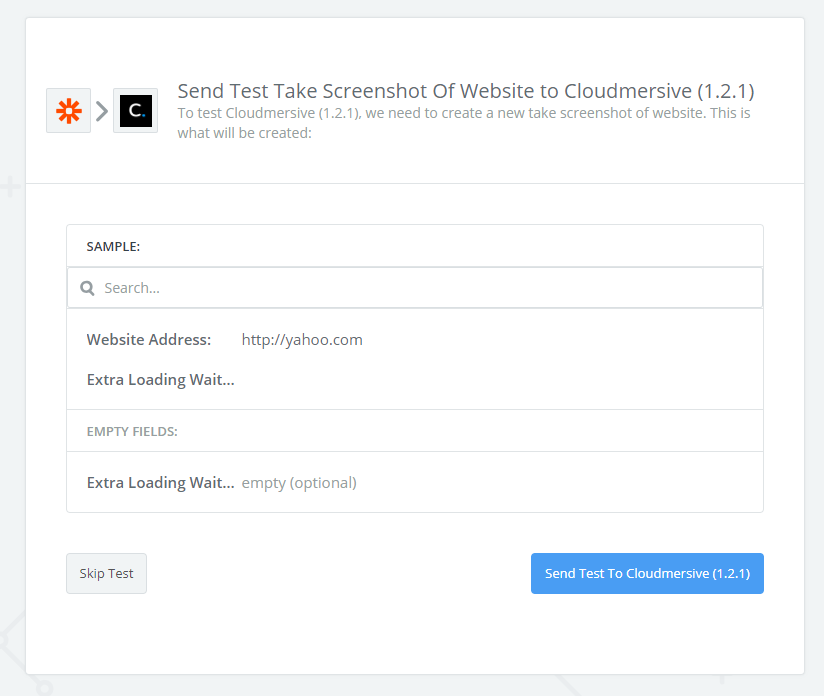
Now we can choose the address of the website we would like to screenshot:
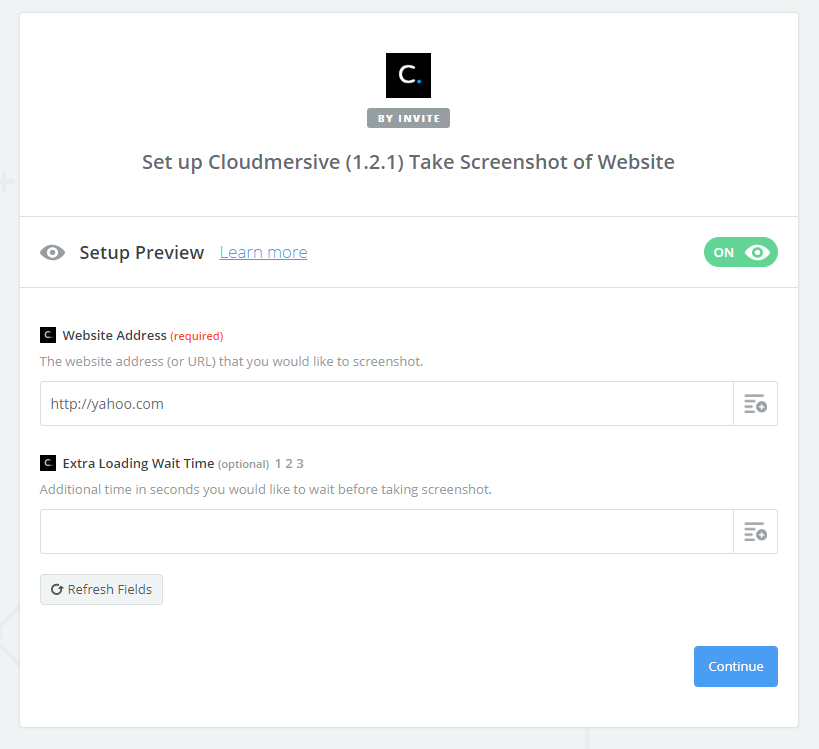
That's it! Now we are ready to test it.
Step 3 - Try it out
Now we can test it - it's that simple.